THE ULTIMATE GUIDE FOR NFTs: create and sell your NFTs
You've certainly heard about the recent NFT (non-fungible token) hype. Celebrities, digital artists, and creatives are all gearing up to put their artwork on the blockchain. From domains to paintings, songs, and even collectible NBA trading cards,
- NFTs -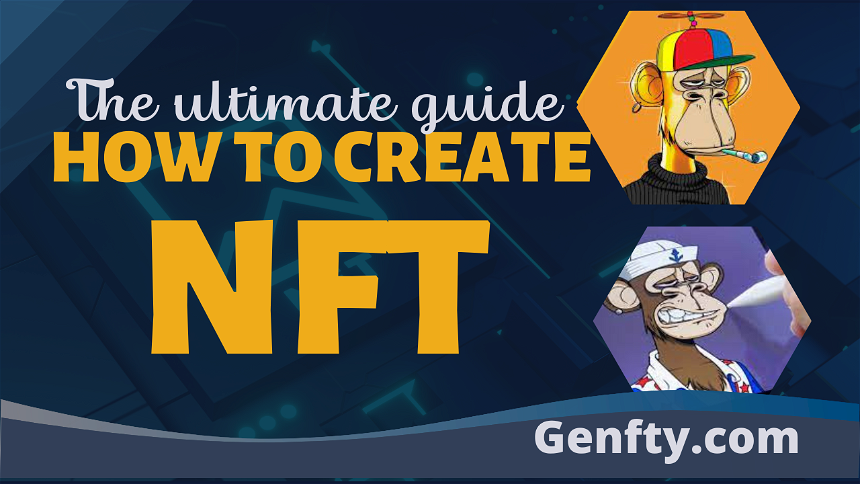 How to Make NFT Collection
 the possibilities are various when minting NFTs. It's a great way of proving authenticity and ownership of creative works.
NFTs are a part of the next-generation technological innovation after cryptocurrencies they’re the trend of assets, which everyone can create, sell or buy. they’re considered one of the most growing sectors in the web 3.0 industry.
This article is a quick and easy 101 guide on NFTs industry, we’re going to share how to create, and sell NFTs on opensea, using the easiest ways and platforms.
This post contains:
- Create NFT assets using PhotoShop.
- Generate Collection using Genfty.com
- Set up your wallet on Ethereum or polygon blockchain
- Upload to IPFS Peer-to-peer Network and get CID
- Create Smart Contract and Deploy it with the CID automatic listing
- Sell On opensea.com
What is an NFT?
NFT is a unique digitized certificate (referred to as a token) that is a digital unit of data stored on a blockchain. It can be a representation of something (a work of art, a photograph, a piece of music, a game, or a collectible), or it can be an original creation that exists only in digital form. NFTs are typically purchased and sold using the type of cryptocurrency or digital token (collectively referred to as tokens) used or accepted on that particular blockchain. Initially, NFTs were almost exclusively created on the Ethereum blockchain and purchased with ether tokens (ETH). (Ether is the native token of the Ethereum blockchain, which has functionality for smart contracts), but now you can create and mint NFTs using other blockchains like polygon or Solana.
How to create and sell NFTs?
to answer this question we will be presenting a step-by-step guide, every step will be explaining some tips and tricks to do to make your collection better.
1. Create NFT Assets or Layers
Before talking about an NFT, you should prepare layers for your generative art, These layers could be designed using photoshop or other design tools, the most important tip is that you respect the sequence and position of each group of layers.
If you don’t have any design skills you can ask for help and buy services on Fiverr, you’ll find some suggestions in this post: Best NFT Artists to Hire on Fiverr
2. Generate collection using Genfty
Once your groups of layers are ready and you’ve made sure that every layer is well placed and respects the sequence of pixels, Then you can upload your layers to the NFT generator Genfty.com ( if you have the PSD File of your layers you can upload it directly and each group will be uploaded with its metadata)
After uploading all of your layers, make sure that you set metadata for each trait and property,
The next step is optional, you can set rarity for your traits if there are some specific properties or attributes that are rare or super rare in your collection you can adjust rarity and add how many NFTs you want to generate using them, but you can skip this part if you want to generate the same number for each trait.
Now your NFTs are ready to be created, you just click on the generate button, and here is your collection, you can download it as a zip file or directly upload it to the IPFS.
3. Set up your wallet
Wallets are the applications you use to store your cryptocurrencies, as well as any NFTs you end up minting or buying. MetaMask’s wallet is one of the wallets that’s widely supported by Ethereum and polygon-based applications like OpenSea, Rarible, and others and can be used either as a Chrome / Firefox extension or as an iOS / Android app. you can also use a coinbase wallet for that and it’s the same setup as metamask all you need is creating an account and setting up your wallet. Then you simply need to add the Ethereum or Polygon network to your wallet so you can access it, To do that,
- Open the side panel of our MetaMask wallet and click the “Expand view”
- head over to the network dropdown and select “Add Network”.
- You will be redirected to a new screen where you will be able to add a custom network.
- Fill in the needed information and save your new network.
PS: Watch this video for more info: Set Up Polygon Network
Once your wallet and your network are well set up you’ll have to transfer some tokens to your wallet.
4. Upload to IPFS Peer-to-peer Network and get CID
As we mentioned in step 2 once your collection is generated and all of your NFTs are created with their metadata you can download them as a zip file or you can go for the second option, Upload to IPFS, but first let’s explain what is IPFS? and how it works?
IPFS or InterPlanetary File System is simply a distributed system for storing and accessing files, websites, applications, and data. In order to find content IPFS uses content addressing to identify it rather than its location. By contrast, every piece of content that uses the IPFS protocol has a content identifier or CID, that is its hash.
In genfty we do all the work for you, you just click on Upload to IPFS and your NFTs will be uploaded to the IPFS as an image file with the metadata of every NFT uploaded as a JSON file. Then you get a CID or content ID so you can preview your collection on the IPFS.
5. Generate a smart contract and deploy it
After uploading your NFTs collection to IPFS, you can generate a smart contract using genfty.com, the generated smart contract is ready to be deployed to your wallet account, while you’re deploying it in remix Ethereum you’ll be asked to connect your wallet and make sure you already have some tokens in your wallet.
Once you have the smart contract code follow these steps to deploy it to remix Ethereum:
- Copy the code and paste it into remix Ethereum after creating a new file with the .sol extension
- Paste and Verify the code of your smart contract.
- To make sure everything is working so far, compile your contract.
- Go to the environment and select inject web3 and connect your wallet
- Choose your contract and click on deploy
- Confirm the transaction on your wallet
After completing all these steps your smart contract is now created and deployed and your NFTs are available on opensea but you’ll have to mint them, and that’s what we gonna see in the next and last step.
6. Sell Your NFTs collection on Opensea.io
You can use your generated and deployed contract to mint new NFTs from the same collection at any time, just go to the mint function, add your wallet address and the number of NFTs you wanna mint, and confirm your transaction, it’s that easy.
Новостная рассылка
Следите за нашими последними новостями нфт, обновлениями и новыми функциями.
Подписывайтесь на нашу новостную рассылку
Свяжитесь с нами
Наша команда здесь, чтобы ответить на все ваши вопросы
Не стесняйтесь обращаться к нам по адресу contact@genfty.com